Lift data from tabular data such as CSV, XSLX or database tables¤
Introduction¤
This beginner-level tutorial shows how you can build a Knowledge Graph based on input data from a comma-separated value file (.csv), an excel file (.xlsx) or a database table (jdbc).
Info
The complete tutorial is available as a project file. You can import this project
- by using the web interface (Create → Project → Import project file) or
- by using the command line interface
This step is optional and makes some of the following steps of the tutorial superfluous.
The documentation consists of the following steps, which are described in detail below:
- Registration of the target vocabulary
- Uploading of the data (file)/Connect to JDBC endpoint
- (Re-)View your data table
- Creation of a (target) graph
- Creation of the transformation rules
- Evaluation of the results of the transformation rules
- Execution of the transformation to populate the target graph
Sample Material¤
The following material is used in this tutorial, you should download the files and have them at hand throughout the tutorial:
-
Sample vocabulary which describes the data in the CSV files: products_vocabulary.nt

-
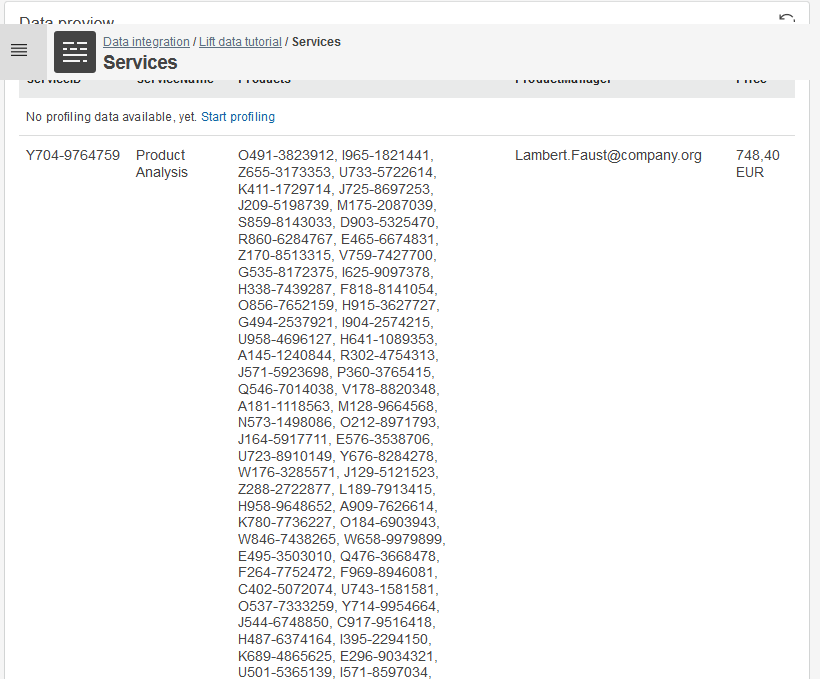
Sample CSV file: services.csv
Info
ServiceID ServiceName Products ProductManager Price Y704-9764759 Product Analysis O491-3823912, I965-1821441, Z655-3173353, … Lambert.Faust@company.org 748,40 EUR I241-8776317 Component Confabulation Z249-1364492, L557-1467804, C721-7900144, … Corinna.Ludwig@company.org 1082,00 EUR … … … … … -
Sample Excel file: products.xlsx
Info
ProductID ProductName Height Width Depth Weigth ProductManager Price I241-8776317 Strain Compensator 12 68 15 8 Baldwin.Dirksen@company.org 0,50 EUR D215-3449390 Gauge Crystal 77 58 19 15 Wanja.Hoffmann@company.org 2,00 EUR … … … … … … … …
1 Register the vocabulary¤
The vocabulary contains the classes and properties needed to map the data into the new structure in the Knowledge Graph.
-
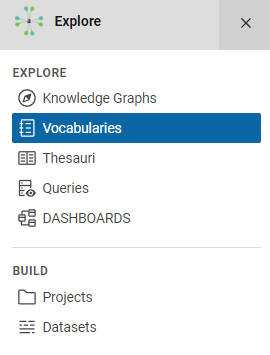
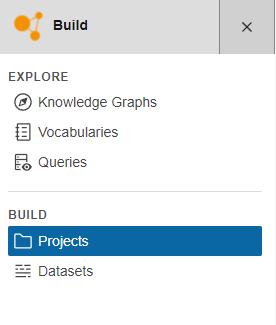
In Corporate Memory, click Vocabularies under EXPLORE in the navigation on the left side of the page.
-
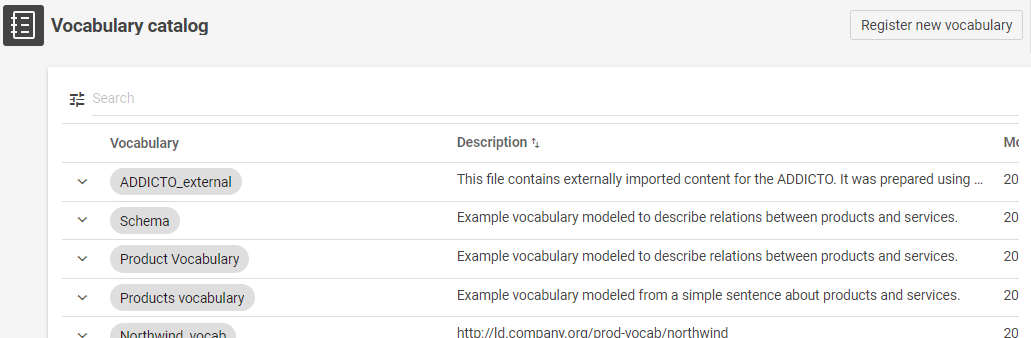
Click Register new vocabulary on the top right.
-
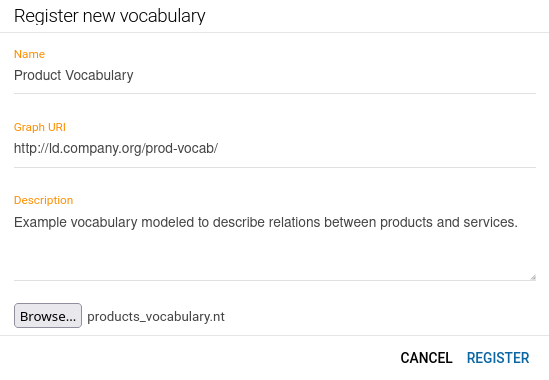
Define a Name, a Graph URI and a Description of the vocabulary. In this example we will use:
- Name: Product Vocabulary
- Graph URI: http://ld.company.org/prod-vocab/
- Description: Example vocabulary modeled to describe relations between products and services.
- Vocabulary File: Browse in your filesystem for the products_vocabulary.nt file and select it to be uploaded.
2 Upload the data file / Connect to the JDBC endpoint¤
-
In Corporate Memory, click Projects under BUILD in the navigation on the left side of the page.
-
Click Create at the top of the page.
-
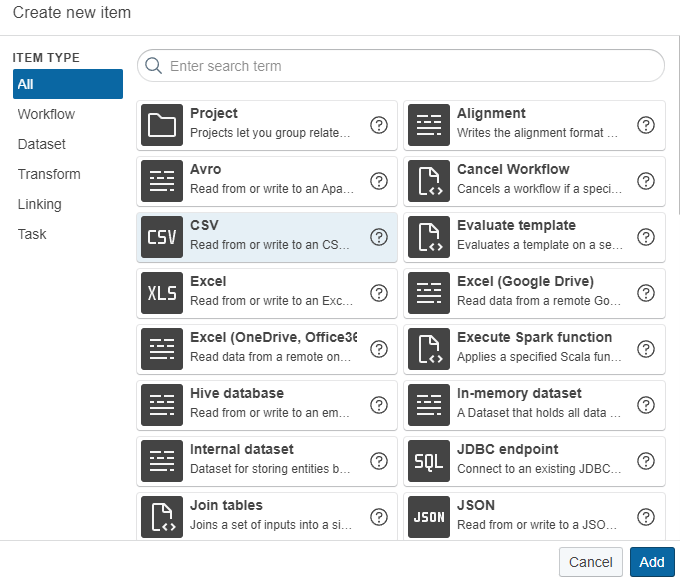
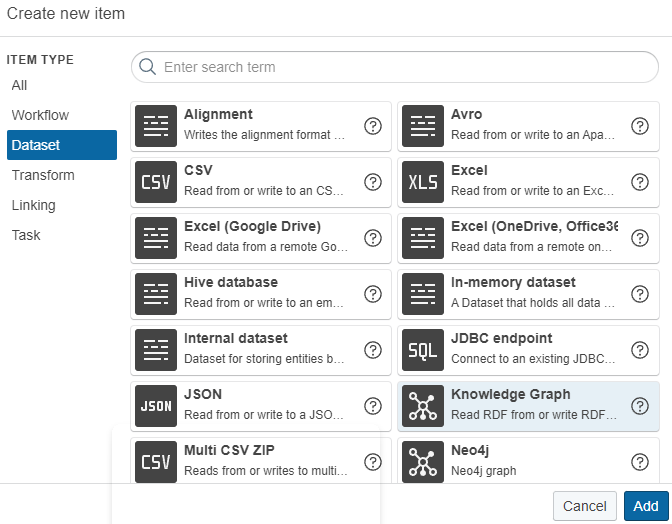
In Create new item window, select Project and click Add. The Create new item of type Project window appears.
-
Fill in the required details such as Title and Description. Alternatively, import the existing project by clicking Import Project File and selecting the file from your system.
-
Click Create. Your project is created.
-
Within your project, click Create or Create item.
-
In the Create new item dialog, select CSV.
-
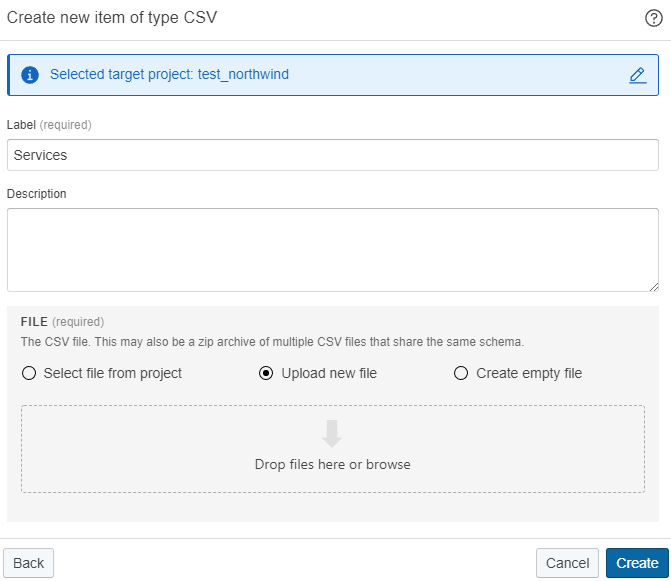
Fill out a label and upload the services.csv sample file.
-
Click Create.** Leave all other parameters at their default values.
-
Create a second dataset. Choose Excel and upload the products.xlsx file.
Instead of uploading the services.csv sample file into Corporate Memory, you can also load it into a SQL database and access it from Corporate Memory using the JDBC protocol.
-
In the project, Click Create and select the JDBC endpoint type.

-
Define a Label for the dataset, specify the JDBC Driver connection URL, the table name and the user and password to connect to the database. In this example we will use:
- Name: Services_ServiceDB
- JDBC Driver Connection URL: jdbc:mysql://mysql:3306/ServicesDB
- table: Services
- username: root
- password: ****

The general form of the JDBC connection string is:
Default JDBC connection strings for popular Relational Database Management Systems:
Vendor Default JDBC Connection String Default Port Microsoft SQL Server jdbc:sqlserver: :1433/ 1433 PostgreSQL jdbc:postgresql: :5432/ 5432 MySQL jdbc:mysql: :3306/ 3306 MariaDB jdbc:mariadb: :3306/ 3306 IBM DB2* jdbc:db2: :50000/ 50000 Oracle* jdbc:oracle:thin: :1521/ 1521 Info
* IBM DB2 and Oracle JDBC drivers are not by default part of Corporate Memory, but can be added.
Info
Instead of selecting a table you can also specify a custom SQL query in the source query field.
3 (Re-)View your Data Table¤
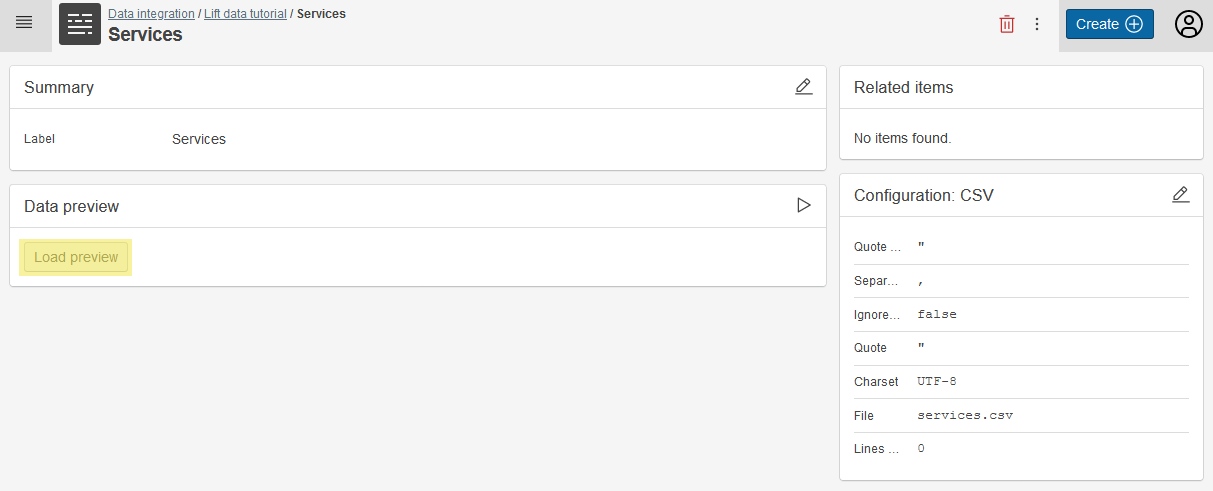
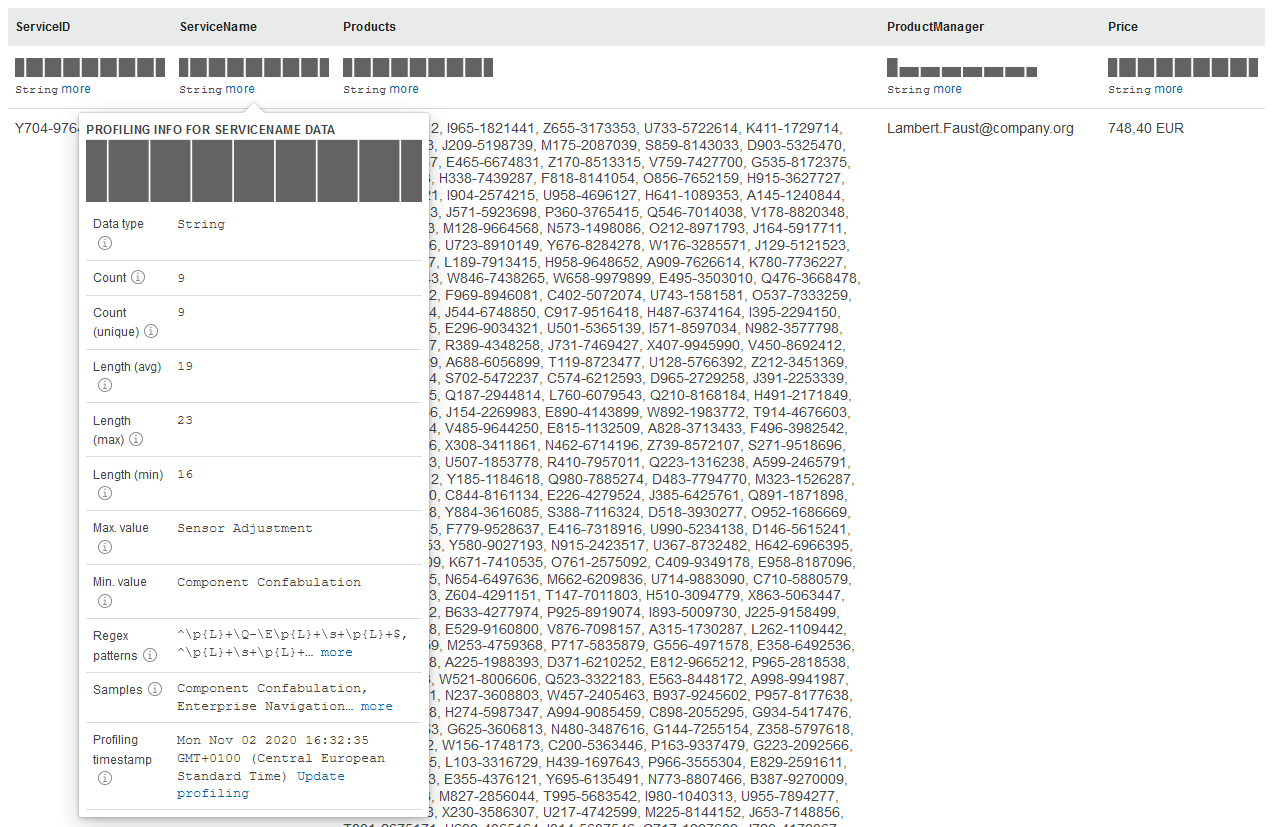
To validate that the input data is correct, you can preview the data table in Corporate Memory.
-
On the dataset page, press the Load preview button
-
Once the preview is loaded, you can view a couple of rows to check that your data is accessible.
-
Optionally, you can click start profiling and explore statistics about the dataset.
4 Create a Knowledge Graph¤
-
Click Create at the top of the page.
-
In Create new item window, select Knowledge Graph and click Add.
-
The Create new item of type Knowledge Graph window appears.
-
Define a Label for the Knowledge Graph and provide a graph uri. Leave all the other parameters at the default values. In this example we will use:
- Label: Service Knowledge Graph
- Graph: http://ld.company.org/prod-instances/
-
Click Create.
5 Create a Transformation¤
The transformation defines how an input dataset (e.g. CSV) will be transformed into an output dataset (e.g. Knowledge Graph).
-
Click Create in your project.
-
On the Create New Item window, select Transform and click Add to create a new transformation.
-
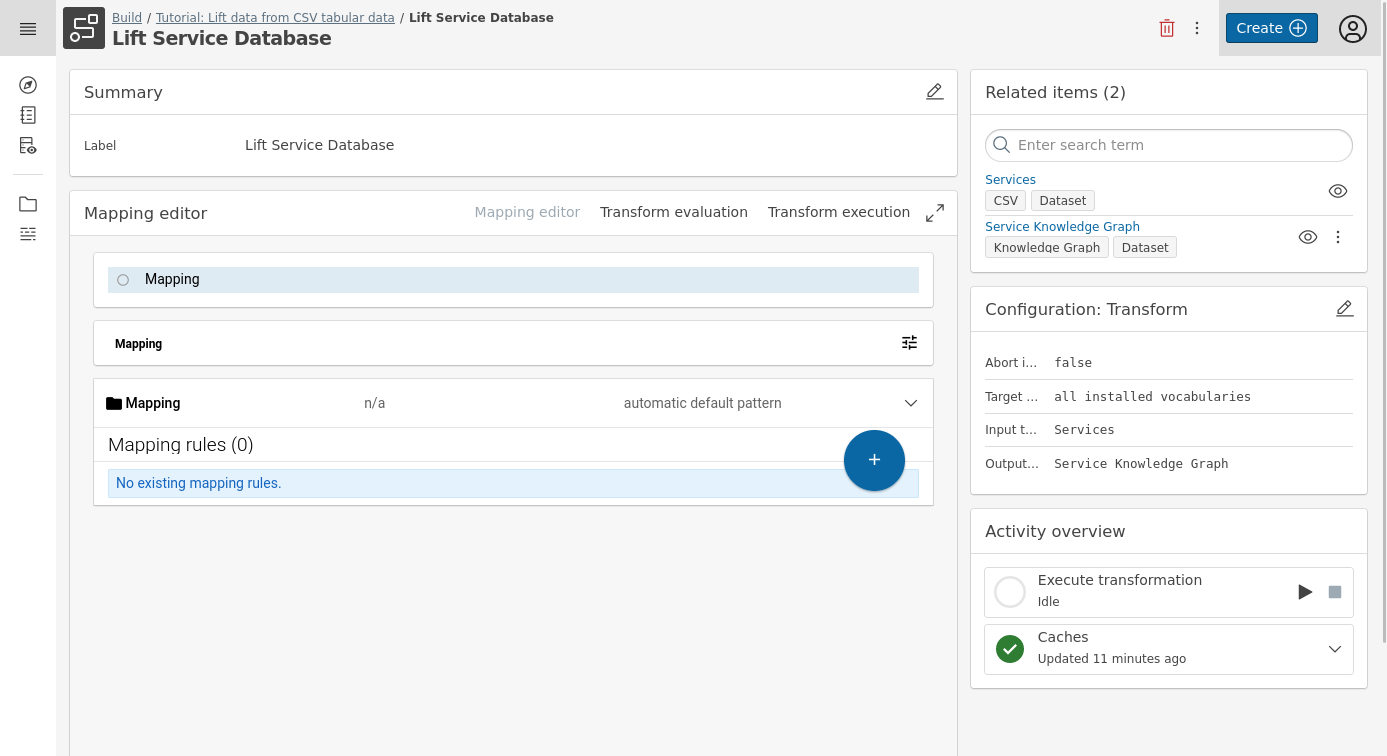
Fill out the the details leaving the target vocabularies field at its default value all installed vocabularies, which will enable us to create a transformation to the previously installed products vocabulary. In this example we will use:
- Name: Lift Service Database
- In the section INPUT TASK in the field Dataset, select the previously created dataset: Services (Input Dataset).
- Select the previously created dataset as the Output Dataset: Service Knowledge Graph
-
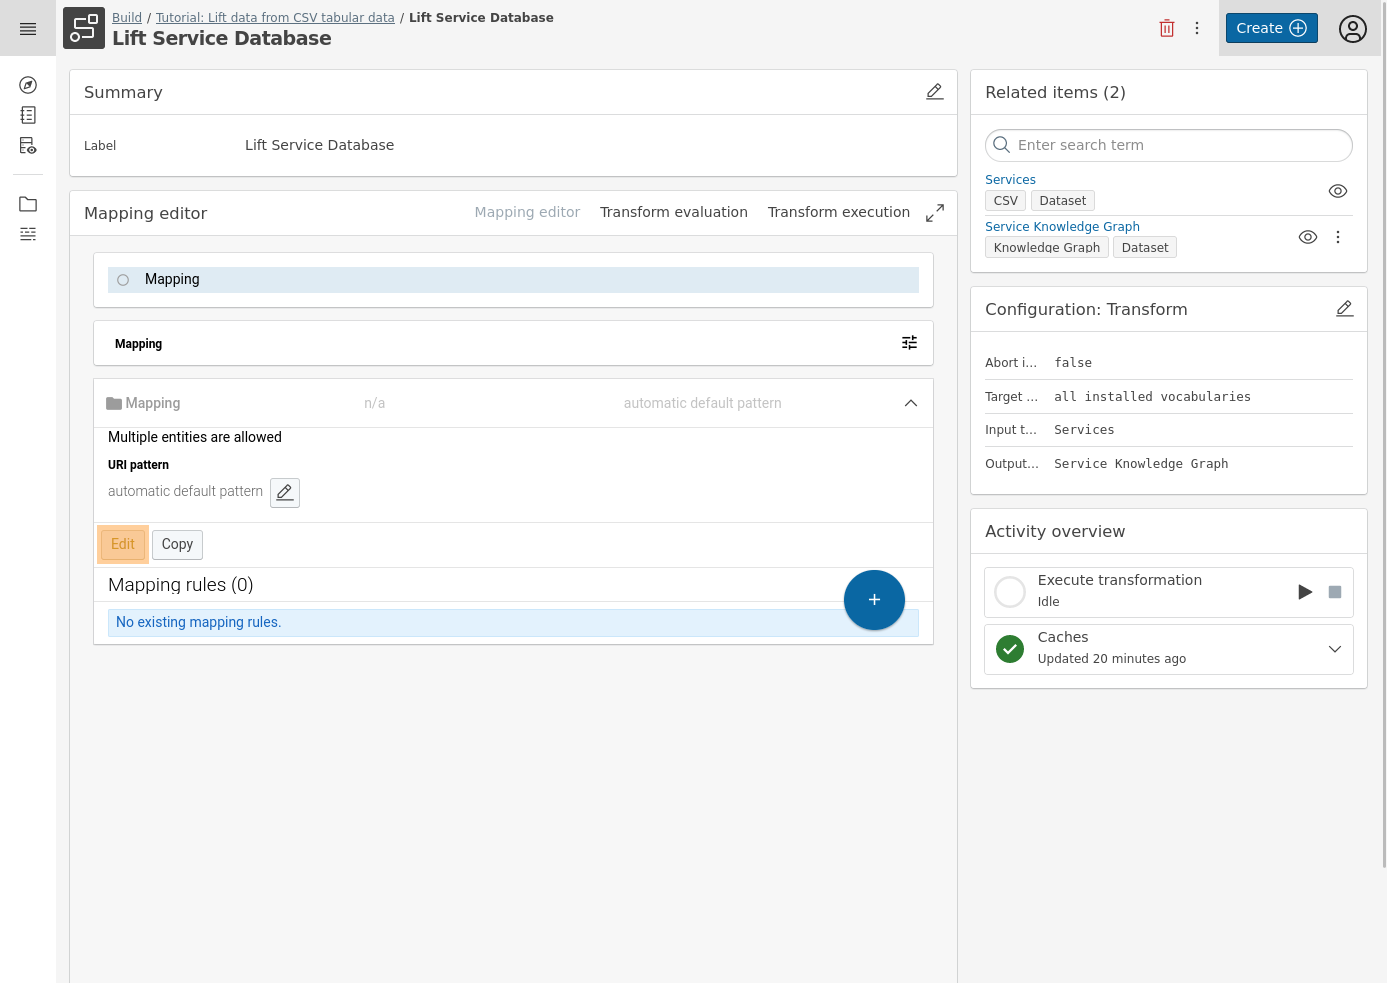
In the main area you will find the Mapping editor.
-
Click Mapping in the main area to expand its menu.

-
Click Edit to create a base mapping.
-
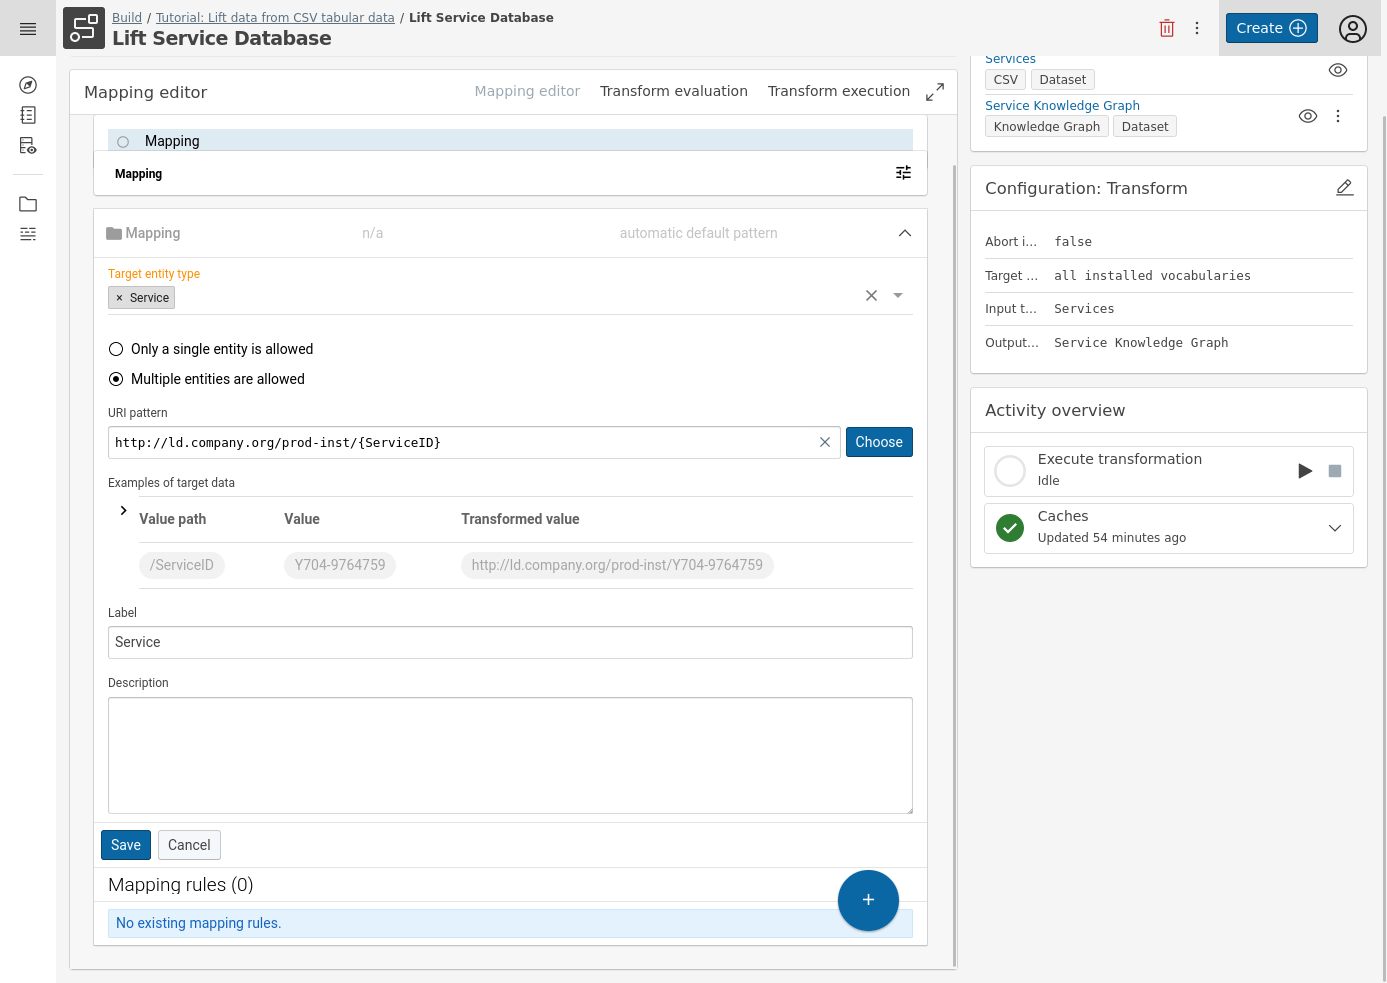
Define the Target entity type from the vocabulary, the URI pattern and a label for the mapping. In this example we will use:
- Target entity type: Service
-
URI pattern:
- Click Create custom pattern
- Insert http://ld.company.org/prod-inst/{ServiceID}
- where http://ld.company.org/prod-inst/ is a common prefix for the instances in this use case,
- and {ServiceID} is a placeholder that will resolve to the column of that name
-
An optional Label: Service
-
Click Save Example RDF triple in our Knowledge Graph based on the mapping definition:
-
Evaluate your mapping by clicking the Expand
 button in the Examples of target data property to see at most three generated base URIs.
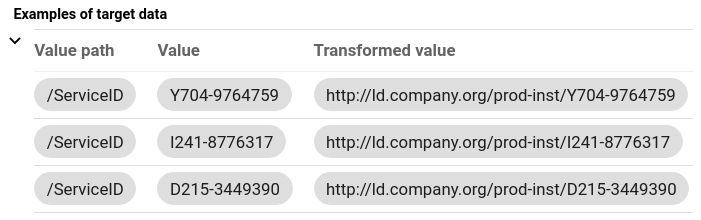
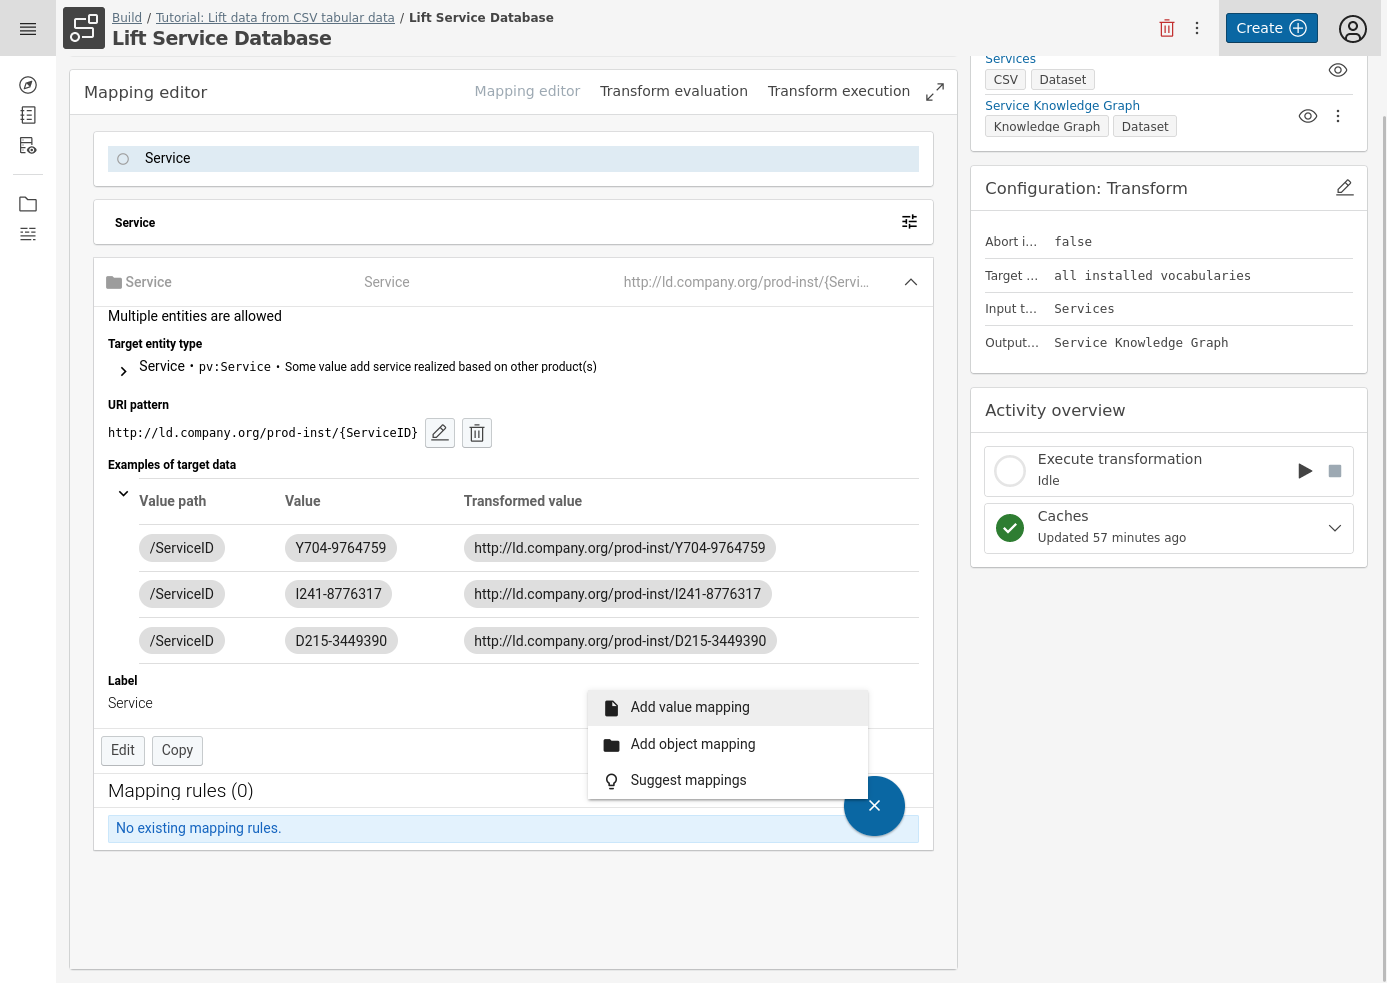
We have now created the Service entities in the Knowledge Graph. As a next step, we will add the name of the Service entity.
-
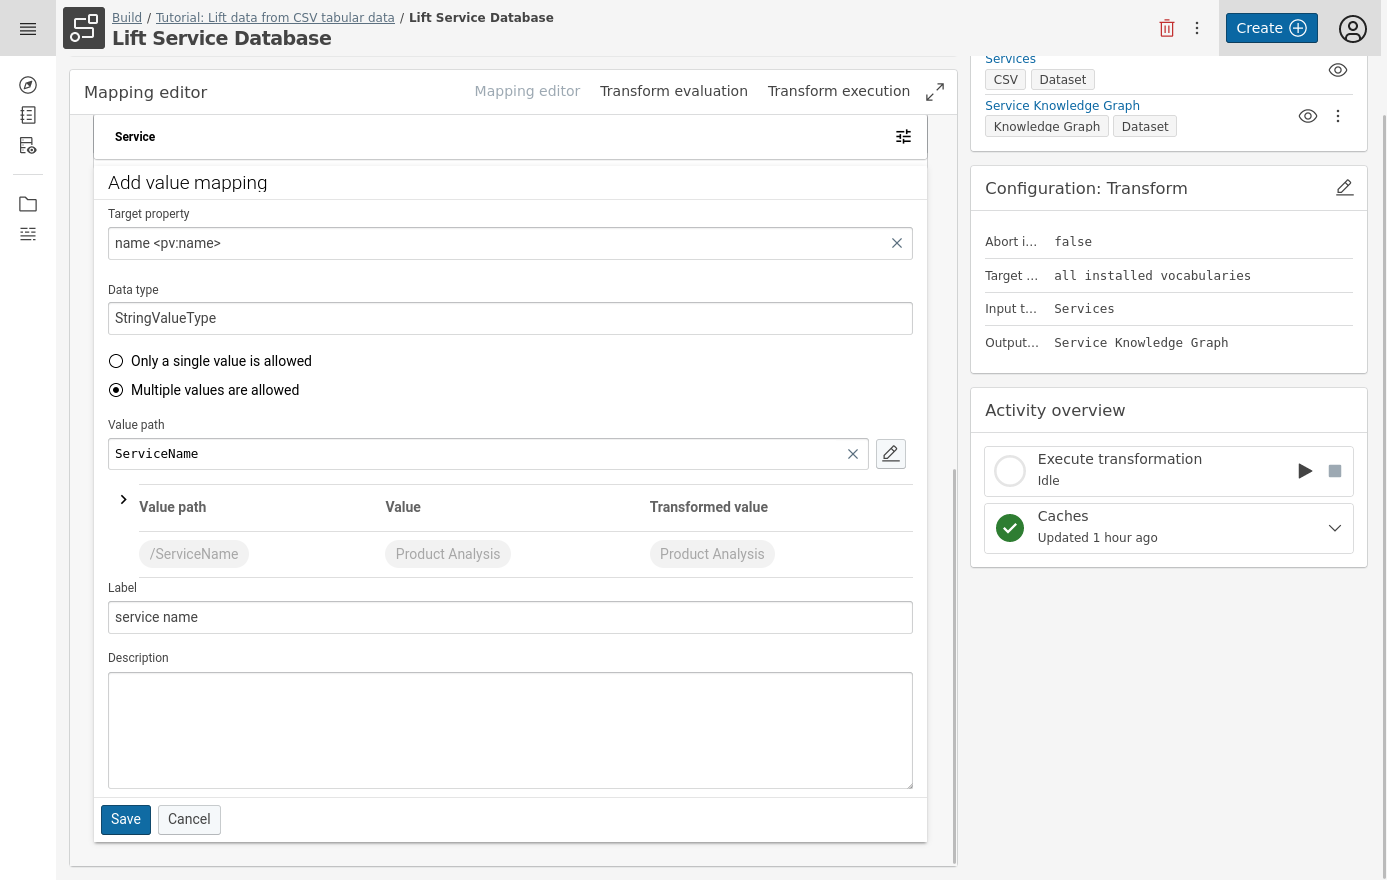
Press the circular Blue + button on the lower right and select Add value mapping.
-
Define the Target property, the Data type, the Value path (column name) and a Label for your value mapping. In this example we will use:
- Target Property: name
- Data type: StringValueType
- Value path: ServiceName (which corresponds to the column of that name)
- An optional Label: service name
-
Click Save.
6 Evaluate a Transformation¤
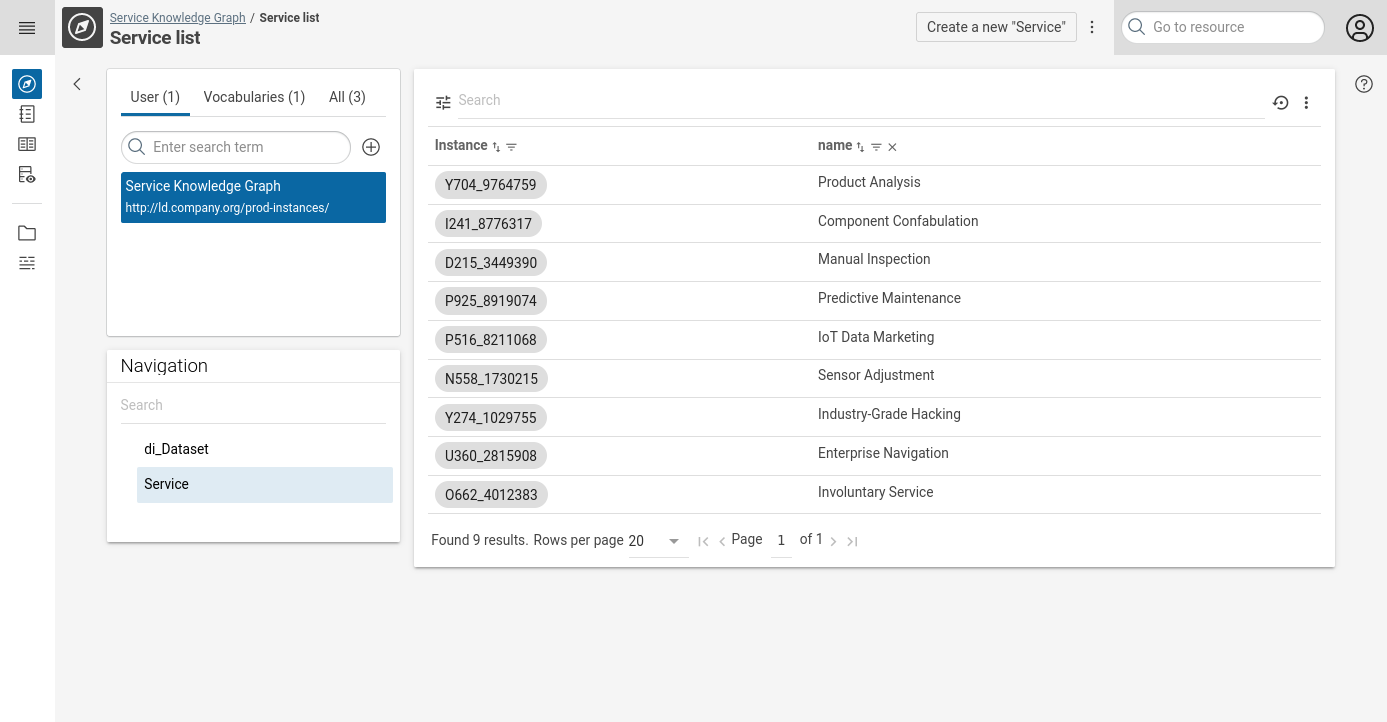
Go the Transform evaluation tab of your transformation to view a list of generated entities. By clicking one of the generated entities, more details are provided.

7 Build the Knowledge Graph¤
-
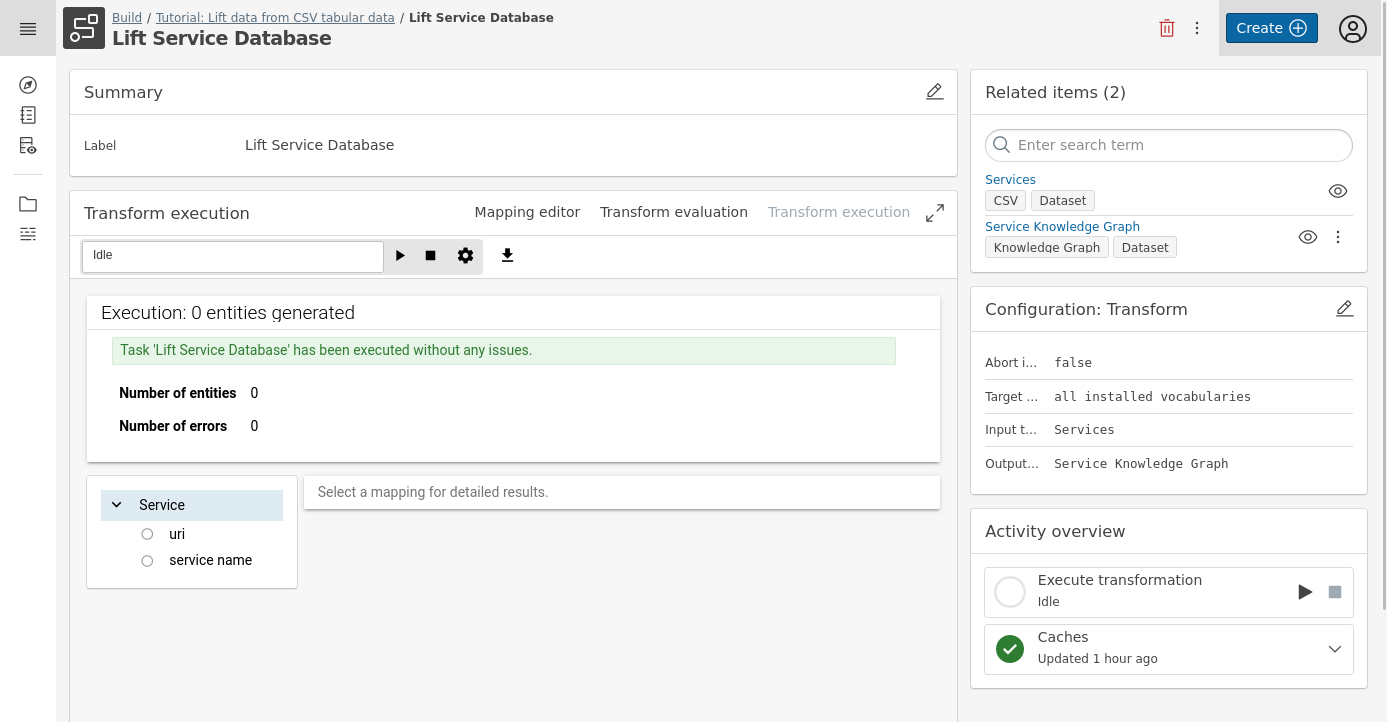
Go into the mapping and visit the Transform execution tab.
-
Press the
 button and validate the results. In this example, 9x Service triples were created in our Knowledge Graph based on the mapping.
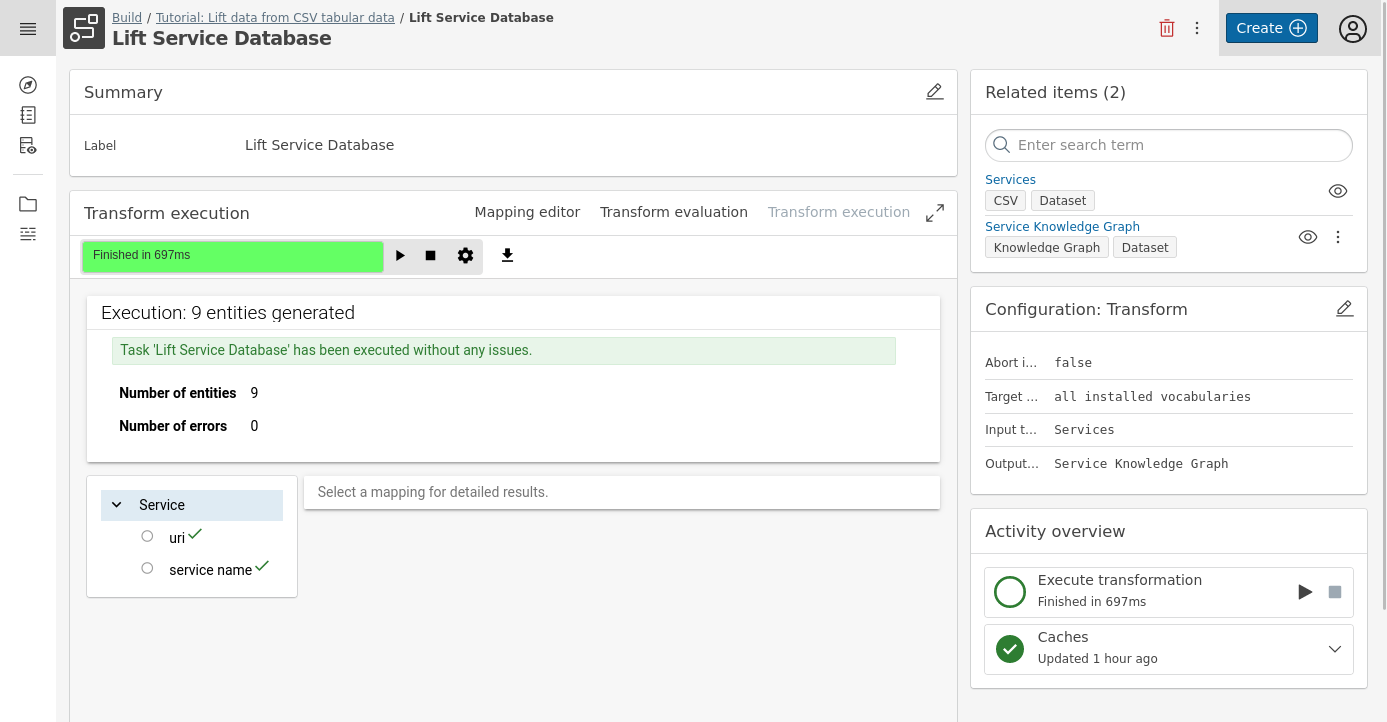
-
Finally you can use the DataManager Knowledge Graphs module to (re-)view of the created Knowledge Graph: http://ld.company.org/prod-instances/