Scenario: Single Node Cloud Installation¤
Introduction¤
This page describes a docker-compose based orchestration running on a server instance accessible publicly via browser (SSL enabled via letsencrypt).
Requirements¤
- ssh access to a server instance (Debian 11) with a public IP address
- A resolvable domain name to this server
- Terminal with ssh client installed locally
- An eccenca partner account for the docker registry as well as the release artifact area
Server Provisioning¤
In this step, you install necessary software on the server and execute the following commands as root:
$ apt-get update

# install ntp and set timezone
$ apt-get install -y ntp
$ timedatectl set-timezone Europe/Berlin

# install needed packages
$ apt-get install -y apt-transport-https ca-certificates curl gnupg2 software-properties-common gnupg lsb-release gettext zip unzip git make vim

# install docker
$ curl -fsSL https://download.docker.com/linux/debian/gpg | sudo gpg --dearmor -o /usr/share/keyrings/docker-archive-keyring.gpg
$ echo   "deb [arch=amd64 signed-by=/usr/share/keyrings/docker-archive-keyring.gpg] https://download.docker.com/linux/debian $(lsb_release -cs) stable" | sudo tee /etc/apt/sources.list.d/docker.list > /dev/null
$ apt-get update
$ apt-get install docker-ce docker-ce-cli containerd.io

# (optional) add a user to docker group
# usermod -a -G docker admin

# install docker-compose
$ curl -L "https://github.com/docker/compose/releases/download/1.29.2/docker-compose-$(uname -s)-$(uname -m)" -o /usr/local/bin/docker-compose
$ chmod +x /usr/local/bin/docker-compose
Installation¤
Info
For username and password in curl command use the credentials to access eccenca Artifactory and docker registry.
Connect to the server and navigate to the directory with the Corporate Memory docker orchestration:
# login to the eccenca docker registry
$ docker login docker-registry.eccenca.com

# download the Corporate Memory orchestration distribution
$ cd /opt
$ curl -u username https://releases.eccenca.com/docker-orchestration/latest.zip > cmem-orchestration.zip

# unzip the orchestration and move the unzipped directory to /opt/cmem-orchestration
$ unzip cmem-orchestration.zip
$ rm cmem-orchestration.zip
$ mv cmem-orchestration-v* /opt/cmem-orchestration

# configure git in order to commit changes to the orchestration
$ cd /opt/cmem-orchestration
$ git config --global user.email "you@example.com" && git init && git add . && git commit -m "stub"
The Corporate Memory docker orchestration is configured with environment files.
You will need to create an environment file at /opt/cmem-orchestration/environments/prod.env.
For now, you can use the provided file config.ssl-letsencrypt.env as a template.
Info
You need to change the lines with DEPLOYHOST and LETSENCRYPT_MAIL to your actual values.
$ cd /opt/cmem-orchestration/environments
$ cp config.ssl-letsencrypt.env prod.env

# change DEPLOYHOST and LETSENCRYPT_MAIL values
$ vi prod.env
In addition that, you need to remove the default config and link it to your prod.env
To see all available configuration options refer to Docker Orchestration configuration page.
Next, request SSL certificates from letsencrypt service:
Change CMEM_BASE_URI according to your DEPLOYHOST.
# update cmemc configuration
$ rm conf/cmemc/cmemc.ini
$ cat <<EOF > conf/cmemc/cmemc.ini
[cmem]
CMEM_BASE_URI=https://corporate-memory.eccenca.dev/
OAUTH_GRANT_TYPE=client_credentials
OAUTH_CLIENT_ID=cmem-service-account
OAUTH_CLIENT_SECRET=c8c12828-000c-467b-9b6d-2d6b5e16df4a
EOF
Finally deploy the Corporate Memory instance:
Optional: you can install cmem as a systemd service for this use these commands as root oder sudo:
$ cp /opt/cmem-orchestration/conf/systemd/cmem-orchestration.service /etc/systemd/system
$ systemctl enable cmem-orchestration
$ systemctl start cmem-orchestration
Validation and Finalisation¤
Open your browser and navigate to the host you have created in DNS server, e.g. https://corporate-memory.eccenca.dev
Click CONTINUE WITH LOGIN and use one of these default accounts:
| account | password | description |
|---|---|---|
admin |
admin |
Is member of the global admin group (can see and do anything) |
user |
user |
Is member of the local user group (can not change access conditions or see internal graphs) |
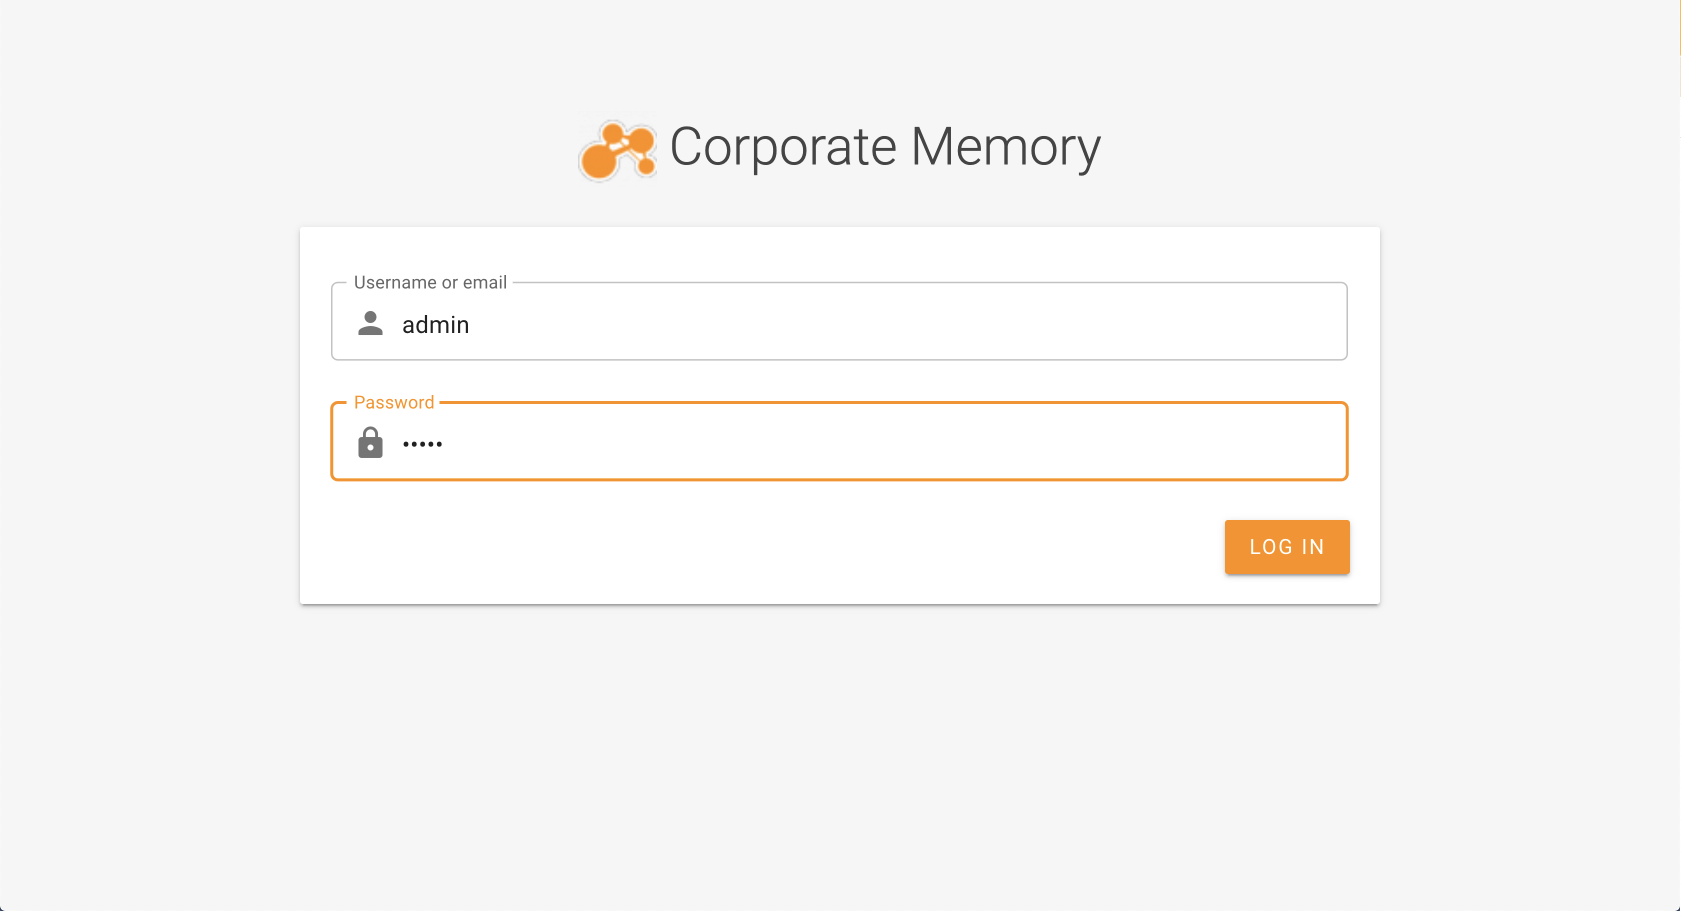
After successful login, you will see Corporate Memory interface. You can now proceed to the Getting Started section.
Do not forget to change the passwords of your deployment, especially if it is available from the public internet. For this, take a look at Change Passwords and Keys.